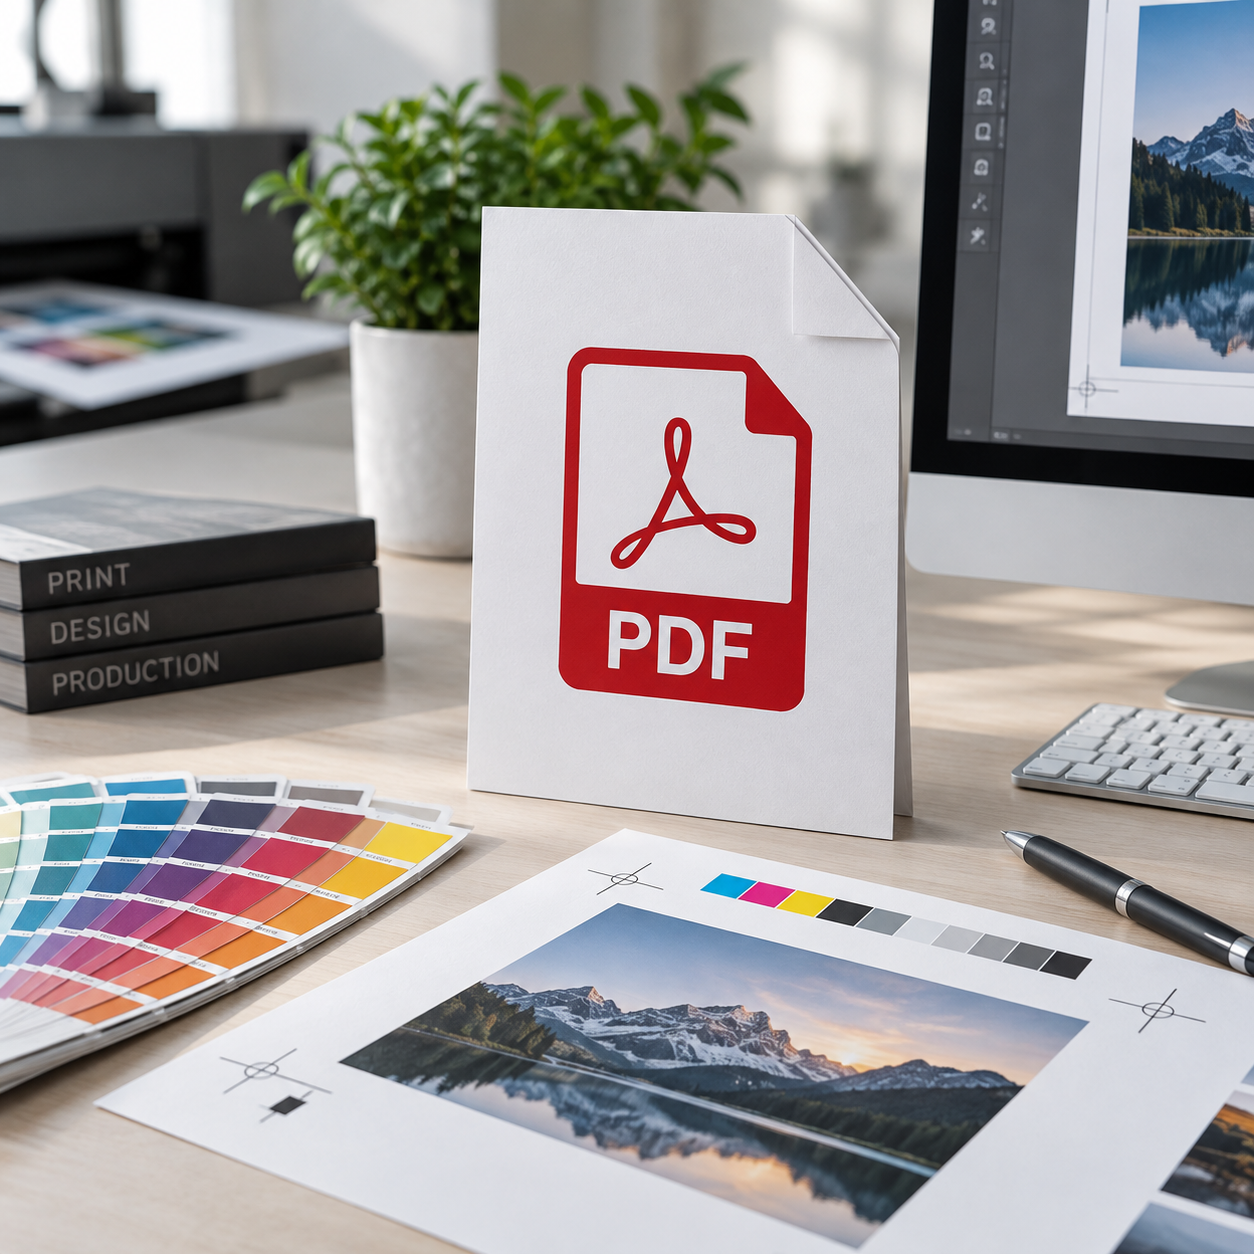
Sending a PDF to a print shop may seem simple, but not every PDF is actually print-ready.
A file can look perfectly normal on a computer screen and still contain problems that become obvious when it is printed: blurry logos, missing bleed, substituted fonts, incorrect dimensions, weak image resolution, unexpected colour changes or elements positioned too close to the cutting edge.
A properly prepared print-ready PDF reduces these problems and helps your printer reproduce the design as accurately as possible.
What is a print-ready PDF?
A print-ready PDF is a file prepared specifically for professional production rather than only for viewing on a screen.
It should contain the final artwork at the correct dimensions and include the information the printing workflow needs to reproduce and finish the job correctly.
Depending on the product, this can include:
- Correct finished size
- Proper bleed
- High-quality images
- Embedded fonts
- Correct colour handling
- Sharp vector logos and line artwork
- Appropriate trim and page boxes
- No missing links or graphics
- No accidental low-resolution elements
- A professional PDF export preset
Start with the correct document size
Before designing, confirm the final size of the printed product.
If a business card will be printed at its final business-card size, the document should normally be designed at that size plus the required bleed. The same principle applies to flyers, brochures, posters, signs and most other printed products.
Do not design a random page size and expect the printer to resize everything automatically. Scaling artwork can change margins, text sizes, image quality and finishing positions.
For large-format products such as banners or signs, artwork may sometimes be prepared at a proportional scale. If that is necessary, tell the printer the scale used.
Always include bleed when artwork reaches the edge
Bleed is artwork that extends beyond the final trim edge of the product.
Commercial printing and cutting equipment has normal mechanical tolerances. Without bleed, even a very small cutting variation can leave an unwanted white line along the edge.
A common bleed amount is approximately 0.125 inch, or 3 mm, on each side, although the required amount can vary by printer and product.
If a background colour, photograph or graphic is supposed to reach the edge of the finished piece, extend it all the way through the bleed area.
Do not simply add a white border around the PDF and call it bleed. The actual artwork must extend beyond the trim line.
Keep important content away from the trim edge
Bleed protects artwork outside the cut. A safe area protects important content inside the cut.
Names, phone numbers, logos, QR codes and other important information should not sit directly against the trim line.
The exact safe margin depends on the product. Business cards, brochures, booklets, signs and banners can all require different spacing.
When in doubt, ask the printer for a template before designing.
Use professional design software for professional printing
For commercial print work, the best source file is usually created in software designed for graphic design and page production.
Adobe Illustrator is excellent for logos, signs, business cards, packaging graphics and vector-based artwork. Adobe InDesign is particularly suitable for flyers, brochures, booklets, catalogues and other multi-page layouts. Adobe Photoshop is useful for editing photographs and raster images, but it is generally not the best application for building an entire multi-page print document.
A professional design application gives you better control over document dimensions, bleed, colour, typography, image resolution and PDF export settings.
Use vector artwork where vector artwork makes sense
Logos, icons, text-based graphics, line drawings and simple illustrations should ideally remain vector whenever possible.
Vector artwork is based on mathematical paths rather than a fixed grid of pixels. It can therefore be enlarged without becoming pixelated.
This is especially important for:
- Logos
- Signs
- Banners
- Vehicle graphics
- Business cards
- Text and line artwork
- Large-format printing
Adobe Illustrator is one of the most common professional applications for creating and maintaining vector artwork.
Not everything should be converted to vector
A professional print file does not mean that every object has to be vector.
Photographs are naturally raster images and should normally remain raster. The important issue is that they have enough resolution for the intended print size.
The ideal file therefore often contains a combination of vector text and logos with properly prepared high-resolution photographs.
Also remember that placing a low-resolution JPG inside Illustrator and saving the file as a PDF does not magically turn that photograph into vector artwork.
Check image resolution at the final print size
Resolution should be evaluated at the size at which the image will actually be printed.
For typical small-format commercial printing, approximately 300 pixels per inch at final size is a widely used target for photographic images.
An image that is 300 PPI when printed at 4 inches wide may become effectively much lower resolution if enlarged to 12 inches wide.
Adobe InDesign's preflight tools can identify low-resolution images and other production problems before export.
Large-format printing is different. A banner viewed from several metres away may not require the same effective resolution as a business card or brochure viewed at arm's length. Ask your print provider what resolution is appropriate for the specific product.
Do not use screenshots or images downloaded from websites for logos
One of the most common printing problems is a customer sending a screenshot, social-media image or small website logo and expecting it to print sharply at a much larger size.
Web graphics are often optimized for screen viewing rather than professional printing.
Whenever possible, provide the original logo artwork in a professional vector format such as AI, EPS, SVG or a properly created vector PDF.
If the original logo is unavailable, the artwork may need to be professionally recreated before printing.
Understand RGB and CMYK
Computer monitors and phones normally display colour using RGB light. Printing devices reproduce colour using inks or toners, commonly through CMYK or another printer-specific colour process.
This means some bright screen colours cannot be reproduced exactly in print.
Professional print artwork should be prepared with the final printing process in mind.
However, do not blindly convert every file to an arbitrary CMYK profile. Different printers and presses can use different colour-management workflows.
If accurate colour is important, ask your printer which colour profile or PDF preset they want you to use.
Why colours can look different after printing
The screen is illuminated from behind, while printed paper reflects light. Because these are fundamentally different ways of producing colour, an exact screen-to-paper match should never be assumed.
Monitor calibration, paper type, ink or toner, finishing, printer calibration and lighting can all influence the final appearance.
For brand-critical colour, discuss colour matching or proofing with the printer before production.
Make sure fonts are embedded
A PDF can contain fonts that are either embedded in the file or dependent on fonts installed on another computer.
Embedding fonts helps ensure that text prints using the correct typeface rather than being replaced with another font.
Professional PDF export settings normally handle font embedding automatically when the font licence permits it.
If a font cannot be embedded, resolve the problem before sending the file for production.
Should you convert all text to outlines?
Not necessarily.
Converting text to outlines can be useful in specific situations, especially for logos or short pieces of artwork where font availability is a concern. However, it also removes normal font information and makes future text editing more difficult.
For properly prepared PDF files, embedding fonts is usually preferable to converting every paragraph in a document to outlines.
If your printer specifically requests outlined text, follow their production instructions.
Check linked images before exporting
Programs such as Adobe InDesign commonly link to photographs and graphics stored outside the document.
If a link is missing or outdated, the PDF may contain an old image or fail to reproduce the intended artwork correctly.
Before export, check the Links panel and make sure every required image is present and updated.
Run Preflight before creating the final PDF
Preflight is essentially a technical inspection of the artwork before production.
Adobe InDesign includes live preflight tools that can identify problems such as missing fonts, modified links, overset text and low-resolution images.
Fix these issues before exporting your final print PDF.
Recommended Adobe InDesign workflow
For brochures, flyers, catalogues, menus, booklets and other page-layout work, Adobe InDesign provides one of the strongest professional workflows.
Before exporting:
- Confirm the final page size.
- Set the correct bleed.
- Extend edge-to-edge backgrounds and images through the bleed.
- Check the Links panel for missing or modified files.
- Check fonts.
- Review effective image resolution.
- Run Preflight.
- Export using Adobe PDF (Print), not an on-screen or interactive PDF preset.
Recommended PDF export settings in Adobe InDesign
Choose File > Export and select Adobe PDF (Print).
For many modern professional printing workflows, PDF/X-4 is an excellent starting point. Adobe currently recommends PDF/X-4 for creating press-ready files, and it is widely used in modern print workflows.
However, the printer may provide a different preset or request another PDF/X standard. Always follow the specification supplied by the print provider.
In the Marks and Bleeds section, enable the document bleed settings when the job requires bleed.
Do not automatically add every possible printer's mark. Many digital printers do not want registration marks, colour bars or other marks from customers. Add crop marks or other marks only when the print provider asks for them.
Recommended Adobe Illustrator workflow
Illustrator is often ideal for business cards, signs, stickers, banners, logos and other graphics-heavy single-page jobs.
Set up the artboard at the correct finished dimensions and define the bleed through the document settings.
Keep logos, text and line graphics as vector wherever practical. Check placed raster images for adequate resolution.
When the design is complete, choose File > Save As and select Adobe PDF.
Use the printer's requested PDF preset. If no specific preset has been supplied, PDF/X-4 is often an appropriate modern starting point for professional printing.
Make sure the required bleed is included when saving the PDF.
How to check the PDF in Adobe Acrobat Pro
Creating the PDF is not the final step. Open the exported file in Adobe Acrobat Pro and inspect it before sending it to production.
Adobe Acrobat Pro includes dedicated Print Production tools for professional printing.
Open:
All Tools > Use Print Production
Important tools include:
- Preflight — checks the PDF for production problems.
- Output Preview — lets you inspect separations, colour spaces and overprinting.
- Set Page Boxes — displays or adjusts trim, bleed and media boxes.
- Convert Colors — provides controlled colour conversion when required.
- Save as PDF/X — allows the document to be converted or validated against a professional PDF/X standard.
Using Acrobat Preflight
In Acrobat Pro, open the PDF and go to All Tools > Use Print Production > Preflight.
Preflight can analyze the file against predefined professional-print profiles and identify problems that may not be obvious from simply looking at the page.
Adobe also provides PDF/X validation and conversion tools. Current Acrobat guidance recommends PDF/X-4 as a modern press-ready option.
Remember that software cannot repair everything automatically. If the original image is genuinely low resolution, converting the PDF to PDF/X does not recreate the missing photographic detail. The best solution is to replace the image with a better source file.
Use Output Preview before sending the file
Acrobat Pro's Output Preview is useful for checking how colours, separations and overprinting behave.
This is particularly important for professional designs using spot colours, black objects, transparency or special printing requirements.
Something that looks correct in a normal PDF viewer may behave differently when colour separations are processed by a commercial printing system.
What if you do not have Adobe software?
You can still create a usable PDF without Adobe, but take extra care with the export settings.
If your design application provides a professional Export PDF or Print PDF option, use that rather than taking screenshots or converting pages into JPG images first.
Look for settings that preserve:
- The original page dimensions
- High-resolution images
- Vector artwork
- Embedded fonts
- Bleed
- High-quality or press-quality output
If the application supports PDF/X export, use the PDF/X version requested by your printer.
After exporting, open the finished PDF and carefully inspect every page at high zoom.
Avoid the "Print to PDF" shortcut for important commercial artwork
Operating systems and browsers often provide a basic "Print to PDF" function.
This is convenient for office documents, receipts and general sharing, but it may not preserve the professional production information required for commercial printing.
Whenever possible, export the PDF directly from the original design application using its professional PDF export controls.
Can a PDF made in Word, PowerPoint or an online design tool be printed?
Sometimes, yes.
For simple documents, these applications can produce PDFs that print successfully. However, they may provide less control over bleed, colour management, image resolution, transparency, page boxes and professional preflight than dedicated design software.
For business cards, brochures, signs, packaging, large-format graphics and other important commercial jobs, professional design software provides a more reliable production workflow.
Why converting a JPG to PDF does not make it print-ready
A common mistake is taking a small JPG and saving or converting it into a PDF.
A PDF is a container format. It can contain vector artwork, text, photographs and many other types of content.
If the original artwork is a low-resolution JPG, putting that JPG inside a PDF does not increase its quality or turn it into vector artwork.
The source artwork must already contain enough information for the intended output size.
Why unsupported or badly generated PDFs can cause printing problems
Not all PDF creators produce files in exactly the same way.
Poorly generated files can contain unexpected transparency, unusual colour spaces, missing font information, incorrect page boxes or other structures that create problems when a commercial RIP processes the job.
This is one reason professional printers prefer predictable PDF standards such as PDF/X and properly exported files from established design applications.
What is PDF/X?
PDF/X is a family of ISO standards created specifically for exchanging files used in professional graphic printing.
A PDF/X file places additional requirements on the PDF so the receiving print workflow has more predictable information about the document.
PDF/X-4 is widely used in modern workflows because it supports modern transparency and colour-managed production.
The Ghent Workgroup, an international graphic-arts standards organization, also bases modern print specifications around PDF/X workflows.
PDF/X-4 or Press Quality?
Adobe applications include presets such as Press Quality and PDF/X-4.
Both can produce high-quality files, but PDF/X provides an additional standardized framework intended specifically for print exchange.
If your print provider supplies its own Adobe PDF preset or job-options file, use that preset instead of guessing.
Do you need crop marks?
Not always.
Crop marks indicate where the printed product should be trimmed, but many modern digital print workflows already use the PDF trim box and do not require customer-supplied crop marks.
Some products or production systems do require them.
The safest rule is simple: include crop marks only when your printer requests them.
Do you need registration marks and colour bars?
Usually not for a normal customer-supplied digital-print file unless your print provider specifically asks for them.
Professional production systems may add their own marks during imposition.
Adding unnecessary marks can increase the page size or interfere with the production workflow.
Check the final PDF at 100% and high zoom
Before sending your artwork, inspect it carefully.
Look for:
- Pixelated logos
- Blurry photographs
- Missing text
- Unexpected font changes
- Objects outside the page
- Thin unwanted white lines
- Incorrect page sizes
- Missing bleed
- Incorrect orientation
- QR codes that are too small
- Spelling and phone-number errors
Print-production software can identify technical problems, but it cannot tell you that the customer's phone number was typed incorrectly.
Print-ready PDF checklist
Before submitting your artwork, confirm that:
- The document is the correct finished size.
- Bleed is included where required.
- Backgrounds extend fully into the bleed.
- Important text and logos are safely inside the trim.
- Logos and line artwork are vector where practical.
- Photographs have sufficient resolution at final size.
- Fonts are correctly embedded.
- There are no missing links.
- The colour setup follows the printer's requirements.
- The PDF was exported using professional print settings.
- Pages are in the correct order.
- The final PDF has been visually inspected.
- The file has been preflighted for important commercial work.
Sending artwork to Horizon Hub for printing
Horizon Hub accepts customer artwork for products such as business cards, flyers, brochures, posters, banners, signs, stickers and other printed materials.
For the most reliable production, send us a properly prepared print-ready PDF whenever possible.
If you are sending a logo, vector artwork is preferred for logos and line graphics, particularly when the design will be enlarged for signage, banners or other large-format applications.
If you are unsure whether your file is ready, we can review the artwork before production and advise if changes are required.
Where artwork requires additional design work, logo recreation, resizing, bleed setup or file preparation, Horizon Hub can also help prepare the file for printing.
Final advice
The best print file starts with a good source document.
Do not wait until the final PDF to fix everything. Build the artwork at the correct size, use good-quality assets, preserve vector graphics, maintain sufficient image resolution, set bleed correctly and export through a professional print workflow.
Adobe Illustrator and Adobe InDesign are excellent tools for creating professional print artwork, while Adobe Acrobat Pro provides powerful preflight and print-production tools for checking the final PDF.
If you do not use Adobe software, export the highest-quality professional PDF your application supports and ask your printer for its required specifications before submitting the job.